How-to Tuesday: Quickly Importing Fuel Card Expenses
With TruckLogics for owner-operators, you can import your fuel card expenses directly into TruckLogics for easy record-keeping.
TruckLogics now supports all product codes from EFS/Fleet One, so you can track all purchases made with your fuel card.
Learn how to harness this powerful TruckLogics feature by following these simple steps or watching this video.
How to import fuel card expenses
1. If you have it, from your EFS, Fleet One, or any other fuel card account, export the fuel expenses that you want to import into TruckLogics into an Excel (.xls or .xlsx) file.
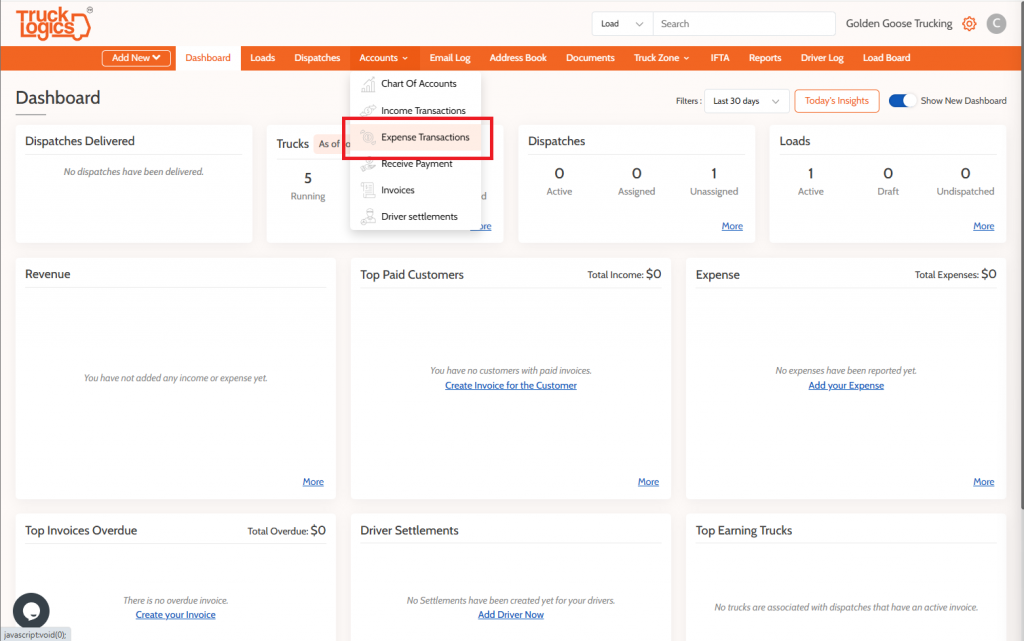
2. From “Dashboard”, hover over “Accounts” and select “Expense Transactions” from the drop-down menu.
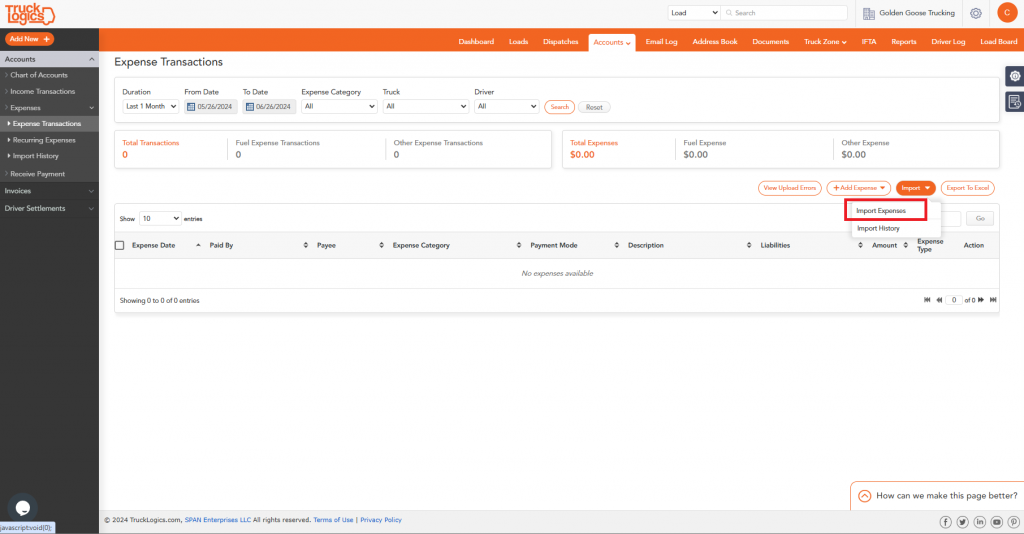
3. Click “Import” in the top right corner, then click “Import Expenses” from the drop-down menu.
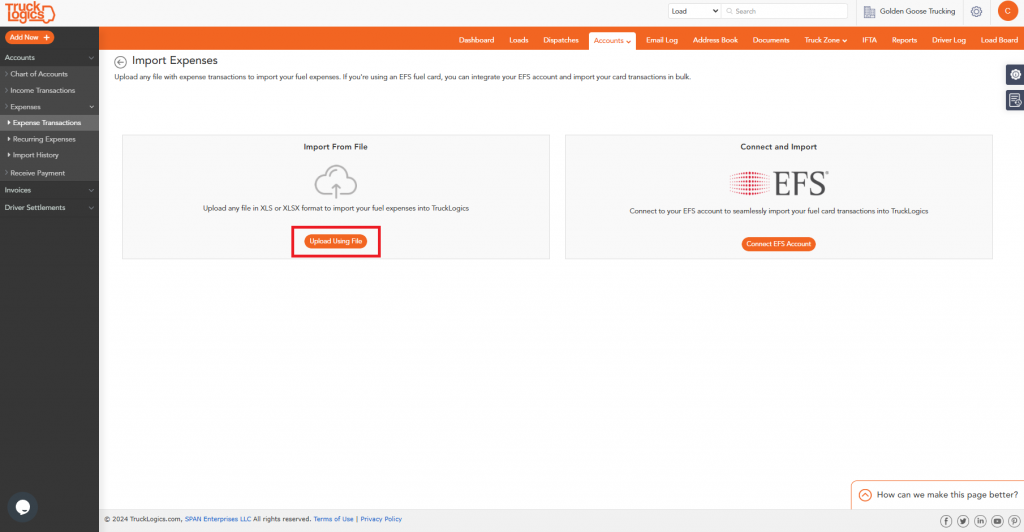
4. If you have an EFS account, you can connect it and directly import from EFS. Or you can upload your own file. If uploading your own file, click that button.
5. If you do not have your own file, you can download the TruckLogics Excel Template and fill it out.
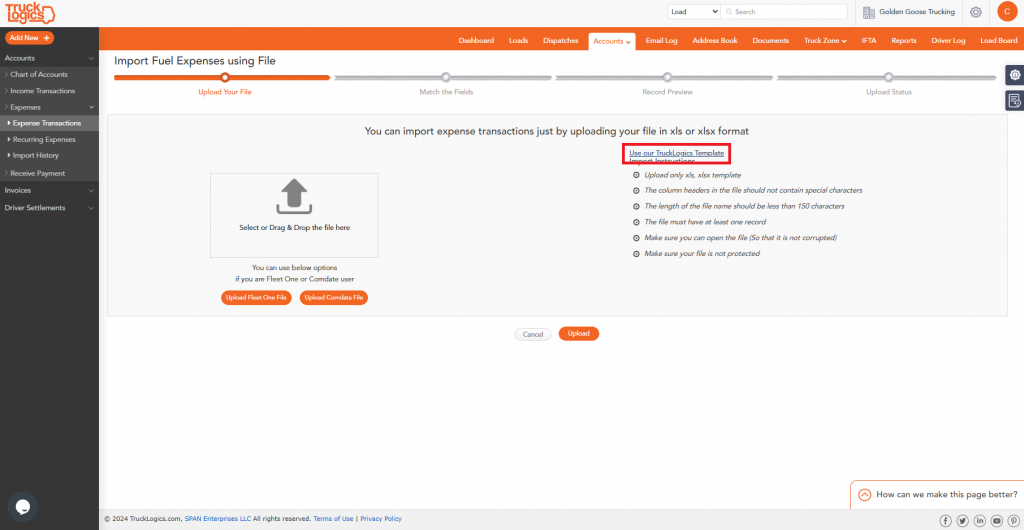
6. When you have your file ready, click the outlined box with the arrow in it. Find your .xls or .xlsx file on your computer.
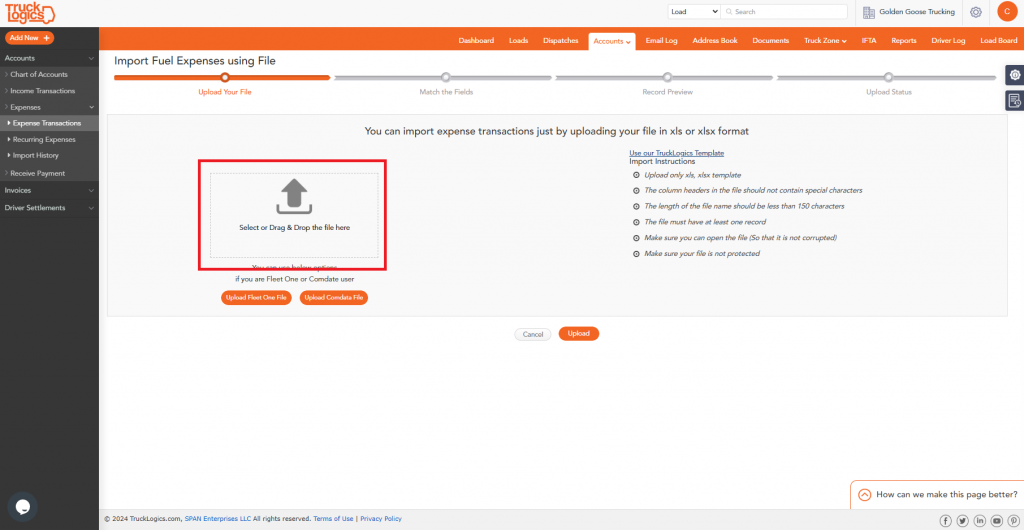
7. Click “Upload”.
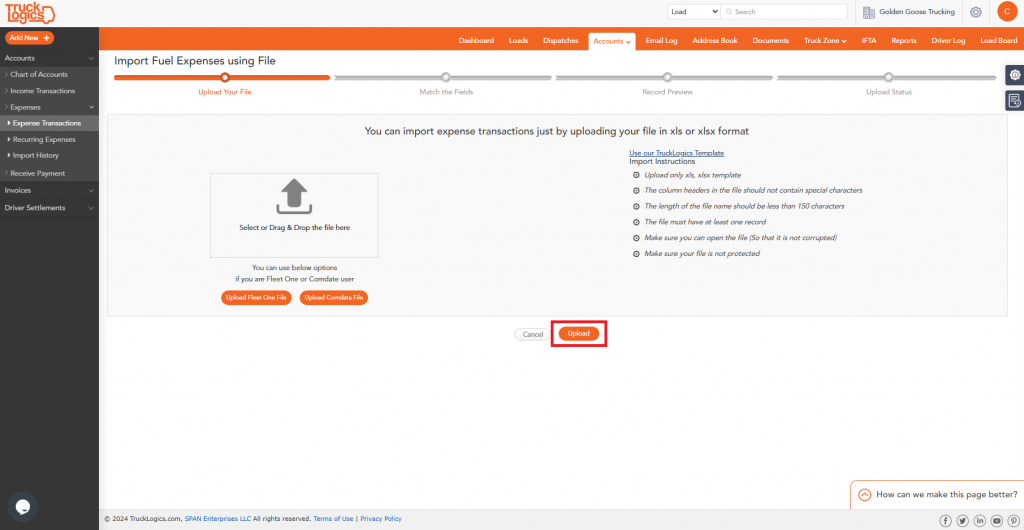
8. If you are not using our template, you will need to match the column headers in the Excel file to the TruckLogics fields. Required fields will be marked with a red asterisk. Make sure your product codes column (header “Item”) is matched to “Fuel Type”.
9. Once all fields are matched, scroll down and click “Next”.
10. Preview how the data is being mapped and make sure everything is matching the correct fields in TruckLogics. Scroll to the bottom of the page and click “Upload”.
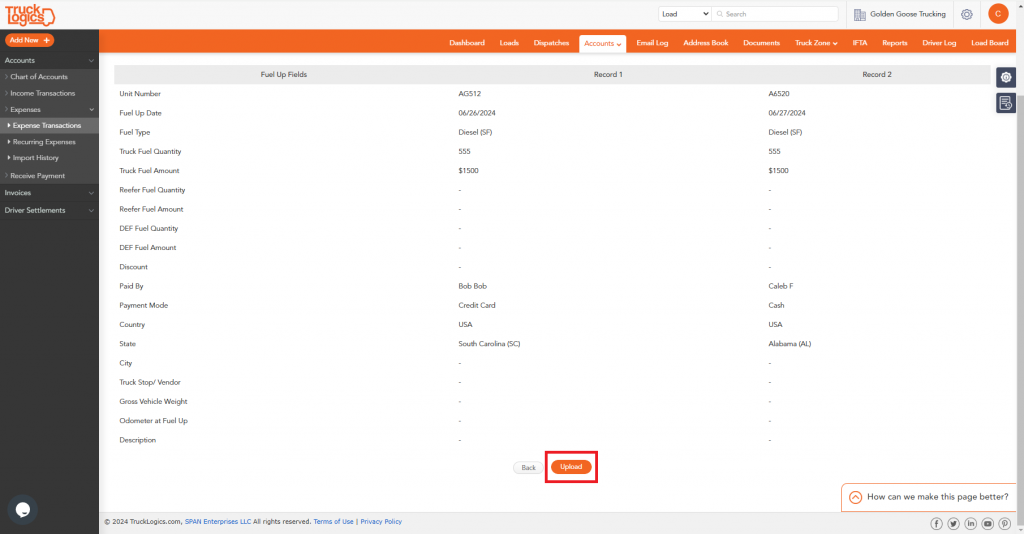
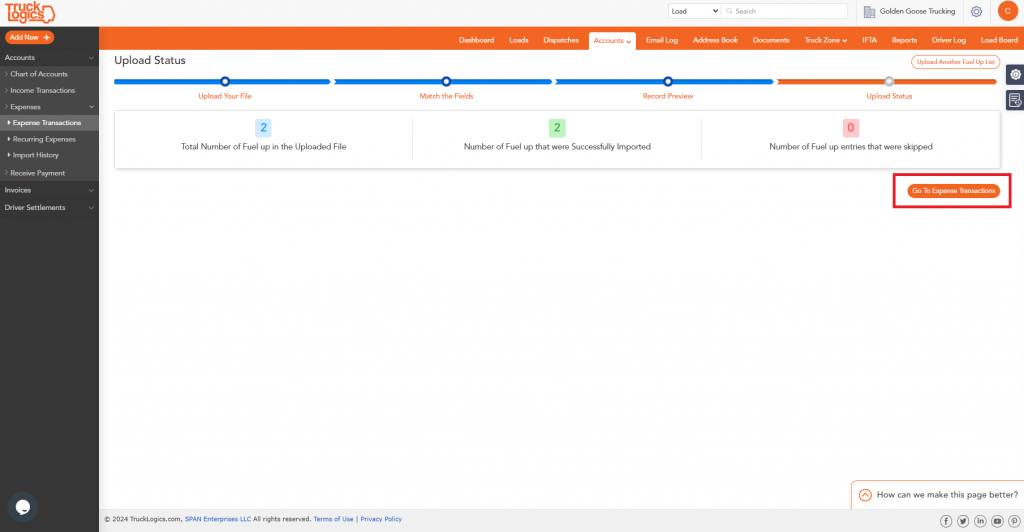
11. Finalize by clicking on “Go To Expense Transactions” to review your imported data.
Try Fuel Card Imports Free!
You can try TruckLogics for free! Click the button to get started today!


