How-To Tuesday: Changing a Route on a Load in TruckLogics
reading time: 2 minute(s)
Have you ever needed to change the route of a load that has already been created? Find out how to do just that with TruckLogics in just a few simple steps.
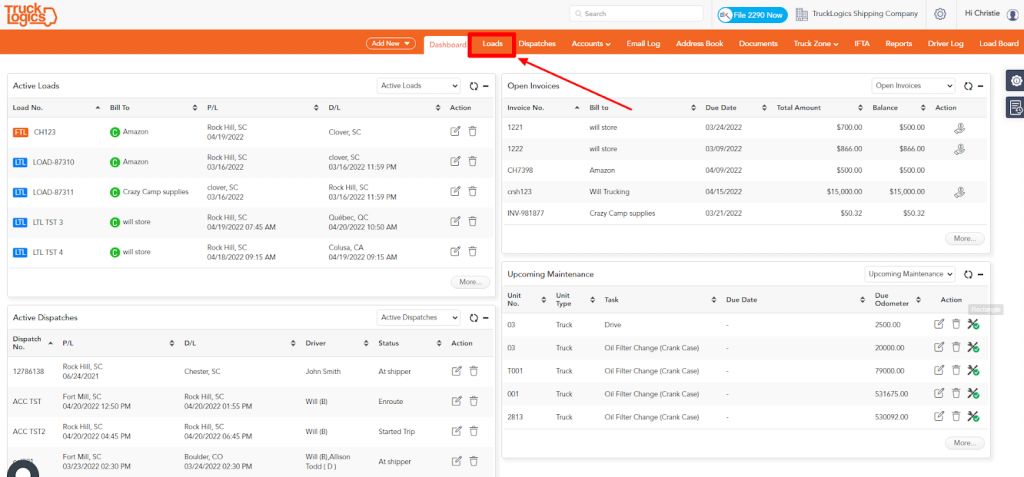
1. From anywhere in TruckLogics select the Loads tab.
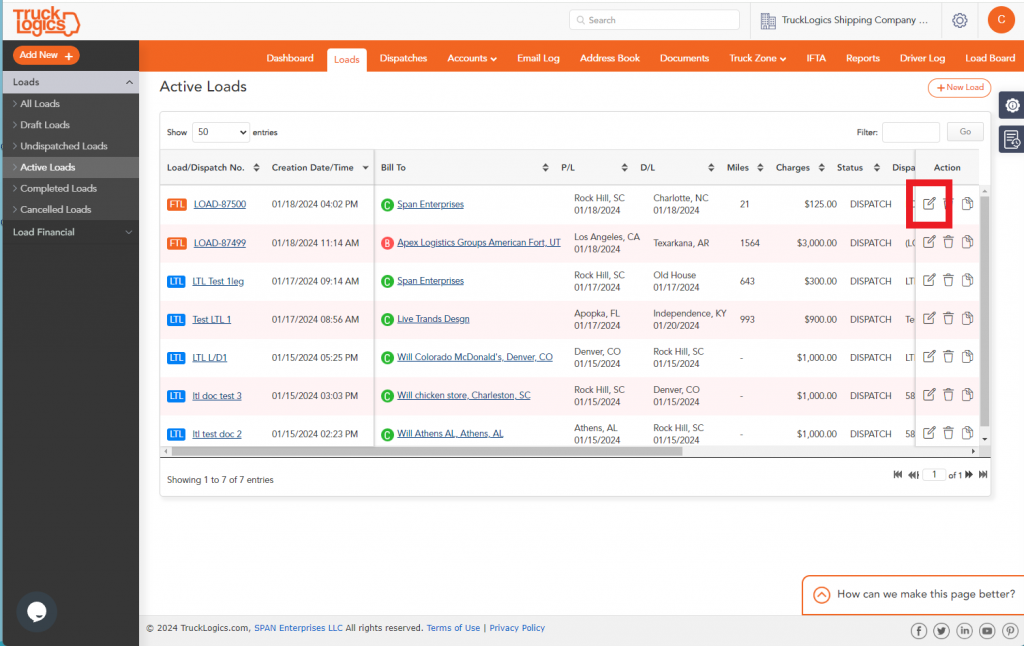
2. Click on the pencil and paper icon on the load that you want to change the route of.
3. You will then scroll down and select Change Route.
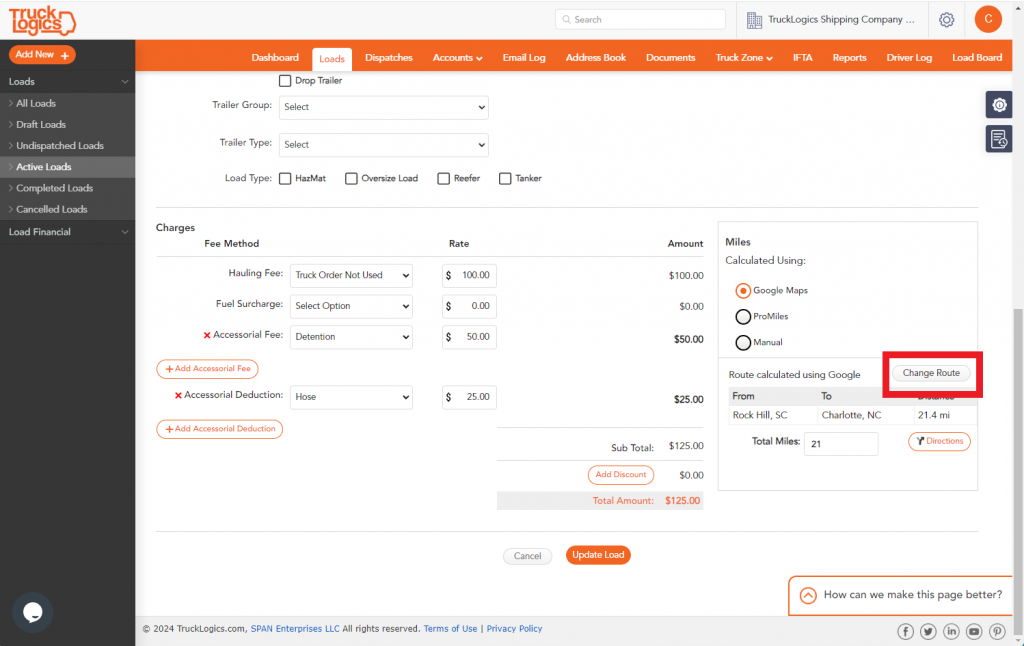
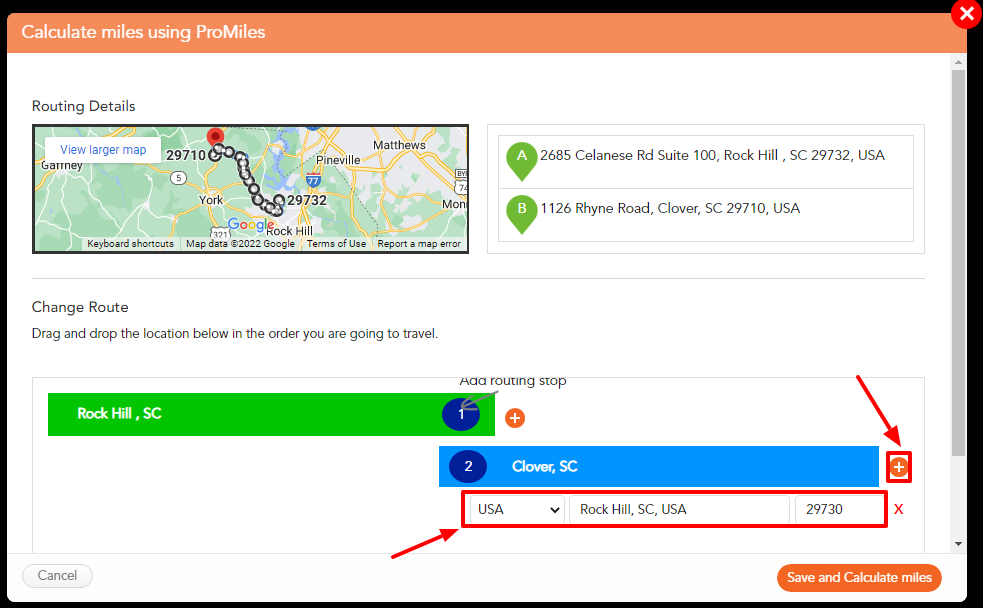
4. Click on the + and then enter the destination that you want to add to the route.
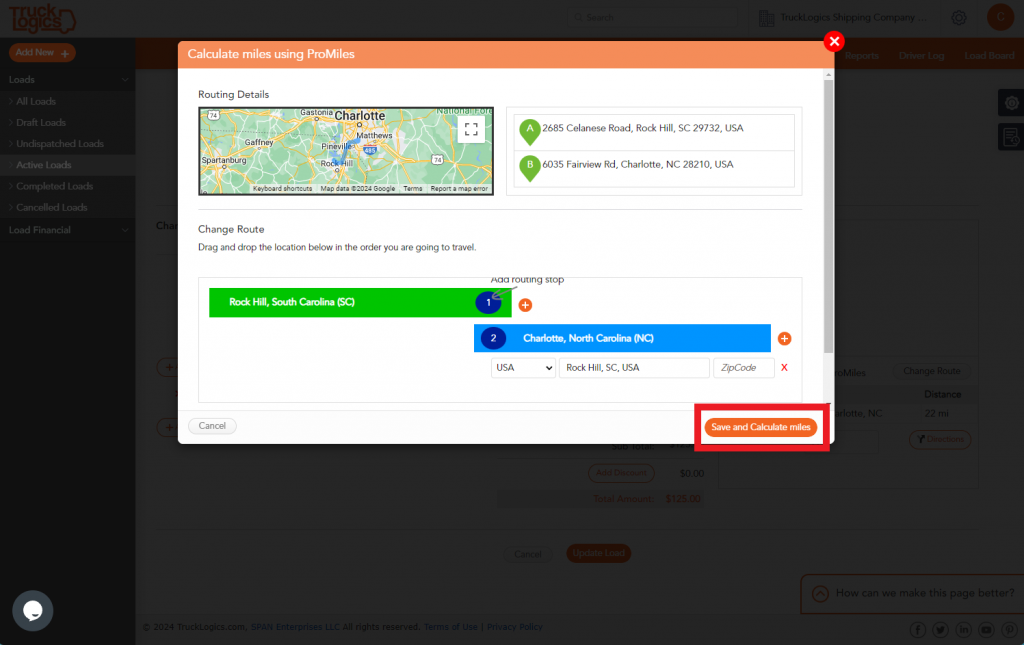
5. Once you have changed the route, you will select Save and Calculate miles.
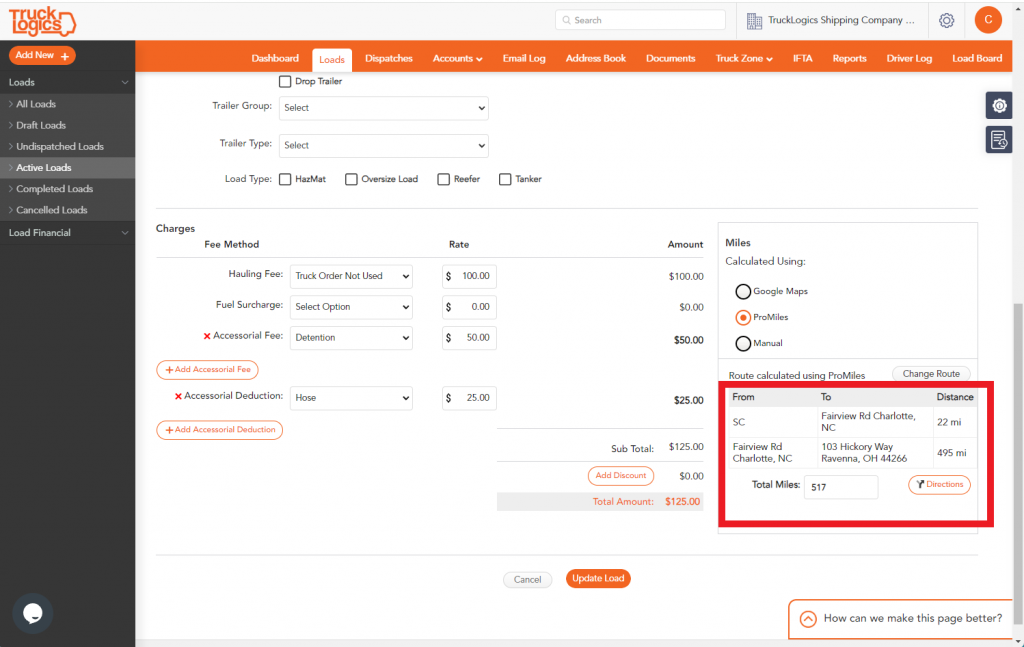
6. Any changes to the route you made will appear in this section and the miles will be updated accordingly.
Next time you need to change the route of a load, you can do so with TruckLogics in just a few steps. What are you waiting for? Sign up for TruckLogics 7-day free trial today and make changes to loads with ease!
Leave a Comment